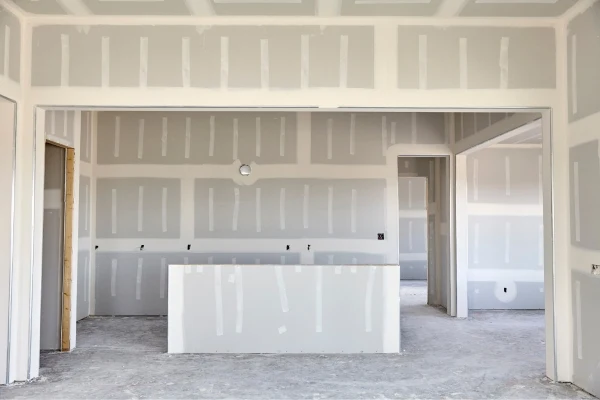
How to Tape and Mud Drywall: A Step-by-Step Guide for a Professional Finish
The process of taping and mudding drywall is essential for achieving a professional finish in construction or renovation projects. It involves applying tape and joint compound to seams and corners, followed by sanding for a smooth surface. By following proper techniques and using the right tools, you can achieve a flawless result. This article will guide you through each step to help you master the art of taping and mudding drywall.
Preparing the Materials
Choosing the Right Tools
Before starting the taping and mudding process, it is essential to select the proper tools for the job. Having the right tools will make the task easier and ensure a professional finish. Here are some key tools you will need:
- Llana de enlucido
- Spreader
- Joint compound
- Spatula
- Roller
- Fine-grit sandpaper
- Caulking gun
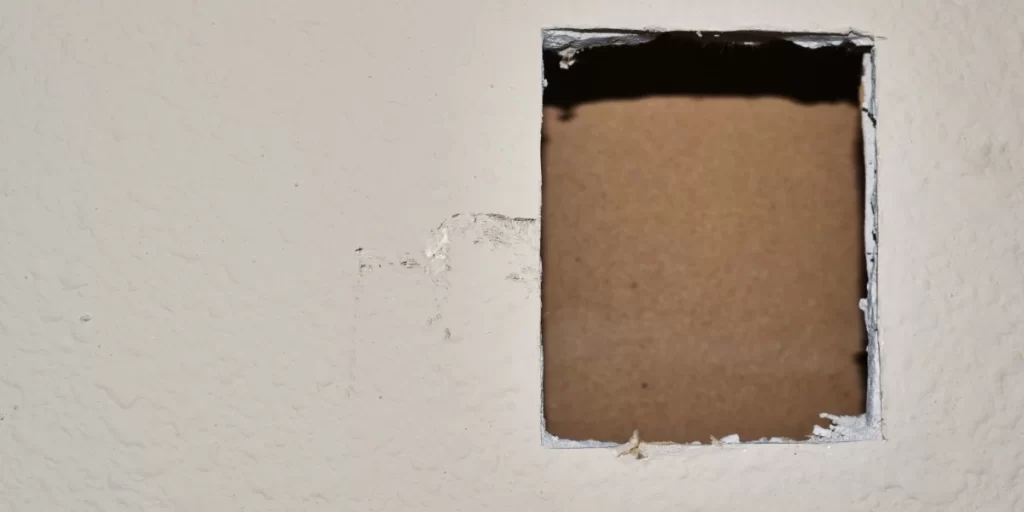
Preparing the Drywall Joints
Before applying tape and joint compound, it is crucial to prepare the drywall joints properly. Clean the joints thoroughly to ensure there is no dust or debris that could affect the adhesion of the tape and compound. This step is crucial for achieving a smooth and professional finish.
Applying Mesh Tape
Techniques for Proper Application
When applying mesh tape to drywall joints, it is important to use the right techniques for a seamless finish. Here are some tips:
- Press the mesh tape firmly onto the joint to ensure proper adhesion.
- Cut the tape to the appropriate length for each joint to avoid overlaps or gaps.
- Smooth out any wrinkles or bubbles in the tape to prevent imperfections in the final result.
Tips for Ensuring a Strong Bond
To guarantee a strong bond between the mesh tape and drywall joints, consider the following tips:
- Apply a thin layer of joint compound over the tape to secure it in place.
- Use a drywall knife to press the tape into the compound and remove any excess material.
- Allow the tape to dry completely before applying additional coats of compound for a durable finish.
Taping Drywall Corners
In this section, we will delve into the crucial process of taping drywall corners to achieve clean and seamless results.
Methods for Seamless Corners
When taping drywall corners, using the proper technique is essential for a professional finish:
- Start by applying joint compound evenly along the corner.
- Place the drywall tape carefully over the corner, ensuring it lies flat.
- Smooth out any air bubbles or wrinkles in the tape for a secure bond.
Avoiding Common Mistakes
To ensure flawless corners, be mindful of these common mistakes:
- Avoid overloading the joint compound, as excess material can lead to bulging corners.
- Take your time to properly embed the tape into the compound to prevent peeling.
- Use a corner tool or knife to create crisp, defined edges for a professional look.
Selecting the Best Drywall Mud for Beginners
Understanding Different Types of Drywall Mud
When it comes to selecting the best drywall mud for beginners, it’s important to understand the different types available on the market. Each type of drywall mud has its own characteristics and is suitable for specific applications.
- All-Purpose Joint Compound: Versatile and easy to work with, suitable for both taping and finishing drywall joints.
- Setting-Type Joint Compound: Dries quickly and is ideal for quick repairs or projects that require a fast turnaround.
- Topping Compound: Specifically designed for the final coats of finishing, providing a smooth and seamless surface.
Recommendations for Novice Users
For beginners, it is recommended to start with an all-purpose joint compound, as it is versatile and forgiving for learning the ropes of taping and mudding drywall. This type of mud is suitable for both taping joints and finishing, making it a great option for beginners looking to practice and improve their skills.
Applying the First Coat of Mud
When applying the first coat of mud to your drywall joints, it is crucial to ensure a smooth and consistent application for optimal results. Here are some techniques and tips to guide you through this process:
Techniques for a Smooth Application
- Start by loading your taping knife with a generous amount of joint compound.
- Apply the mud to the joint in a thin and even layer, using long, smooth strokes.
- Use light pressure to feather out the edges of the mud to create a seamless transition.
- Work in small sections at a time to maintain control over the application.
Tips for Consistent Coverage
- Ensure that the mud is spread evenly across the joint without leaving any gaps or ridges.
- Check for air bubbles or trapped debris in the mud and smooth them out as you go.
- Pay attention to the thickness of the mud to avoid unnecessary buildup that can be difficult to sand down later.
- Work methodically and systematically to ensure consistent coverage across all joints.
Adding Layer of Paper Tape
When it comes to taping and mudding drywall, adding a layer of paper tape is a critical step in reinforcing the joints and ensuring a seamless finish. Proper placement and technique are essential to guarantee the tape adheres securely and provides the necessary reinforcement for a durable result.
Proper Placement and Technique
Proper placement of the paper tape involves positioning it directly over the joint where the drywall panels meet. It should cover the entire length of the joint without any gaps or overlaps to ensure a smooth surface once the joint compound is applied. When applying the tape, press it firmly against the joint to ensure it adheres securely.
Ensuring Reinforcement of Joints
Reinforcing the joints with paper tape is crucial for preventing cracks or separation between the drywall panels over time. The tape acts as a barrier that helps distribute the stress and movement across the joint, reducing the likelihood of future damage. Ensuring the tape is properly embedded in joint compound and smoothed out is essential for a strong and durable finish.
Smoothing and Sanding
When it comes to taping and mudding drywall, achieving a professional finish is key. This section will cover the techniques for smoothing and sanding the joints to ensure a flawless surface.
Achieving a Professional Finish
To achieve a professional finish when taping and mudding drywall, proper smoothing and sanding techniques are essential. Here are some tips to help you achieve a smooth and seamless surface:
- Start by using a sanding block or sanding sponge to smooth out any rough areas or ridges on the drywall joints.
- Use a sanding screen or sandpaper with a fine grit to gently sand the joints in a circular motion, avoiding applying too much pressure to prevent damage to the drywall.
- After sanding, wipe down the surface with a damp cloth to remove any dust or debris, ensuring a clean and smooth finish.
- Inspect the surface for any imperfections or uneven areas and sand as needed until the entire surface is smooth and uniform.
Importance of Proper Sanding Techniques
Proper sanding techniques are crucial in achieving a professional finish when taping and mudding drywall. Here are some key points to keep in mind:
- Always use a light touch when sanding to avoid over-sanding and damaging the drywall surface.
- Work in small sections, focusing on one area at a time to ensure thorough sanding and smooth results.
- Regularly inspect the sanded areas to ensure a consistent finish and address any imperfections promptly.
Applying the Final Coat
Techniques for a Flawless Surface
When applying the final coat of mud to your drywall, it is crucial to use the right techniques to ensure a flawless surface. Here are some tips for achieving a professional finish:
- Begin by applying a thin layer of mud over the taped seams, using a taping knife to smooth it out evenly.
- Work in long, smooth strokes to spread the mud across the surface and feather the edges for a seamless blend.
- Use a light touch to avoid creating bumps or ridges in the mud, and make sure to fill in any gaps or low spots.
Tips for an Even Finish
For an even finish on your drywall, consider the following tips:
- Apply consistent pressure when smoothing out the mud to avoid uneven patches or thickness.
- Check the drywall from different angles to ensure that the surface is smooth and free of imperfections.
- Use a sanding block or sandpaper to lightly sand the dried mud between coats for a smooth and uniform finish.
Repeating the Process for Perfection
Repeating the process of taping and mudding drywall is essential to achieving a flawless finish. By applying multiple layers of joint compound and tape, you can ensure the durability and seamless appearance of your walls or ceilings.
Considerations for Multiple Layers
- Apply each layer of joint compound smoothly and evenly to avoid buildup or uneven surfaces.
- Allow sufficient drying time between layers to prevent cracking or shrinking of the compound.
- Sand lightly between layers to remove any imperfections and create a smooth base for the next application.
- Inspect the surface carefully after each layer to identify and address any areas that require additional work.
Ensuring a Durable and Seamless Result
- Focus on feathering the edges of each layer to blend seamlessly with the surrounding drywall.
- Use a steady hand and consistent pressure when applying joint compound to maintain a uniform surface.
- Check for any bumps, ridges, or air bubbles in the compound and address them promptly for a professional finish.
- Complete the process with a final sanding to smooth out any remaining imperfections and achieve a flawless result.