How to Repair Drywall Cracks:
Finding cracks in your drywall is one of the most annoying things you can do. Those unattractive fissures can detract from the aesthetic of any room, regardless of whether they are the result of settling, temperature changes, or plain wear and use. The good news is that you don’t necessarily need to hire an expert to fix drywall cracks. You may take on this do-it-yourself activity and bring back the spotless appearance of your walls with the appropriate equipment, supplies, and patience. We’ll show you how to mend cracked drywall like a pro by taking you step-by-step through this comprehensive repair tutorial.
Assessing the Extent of Damage:
The amount of damage must be carefully evaluated before starting the restoration process. Scrutinize the cracks to determine whether they are structural flaws or more surface imperfections on the wall. This evaluation will be the basis for deciding if a straightforward cosmetic touch-up will be sufficient or if a more extensive repair is required.
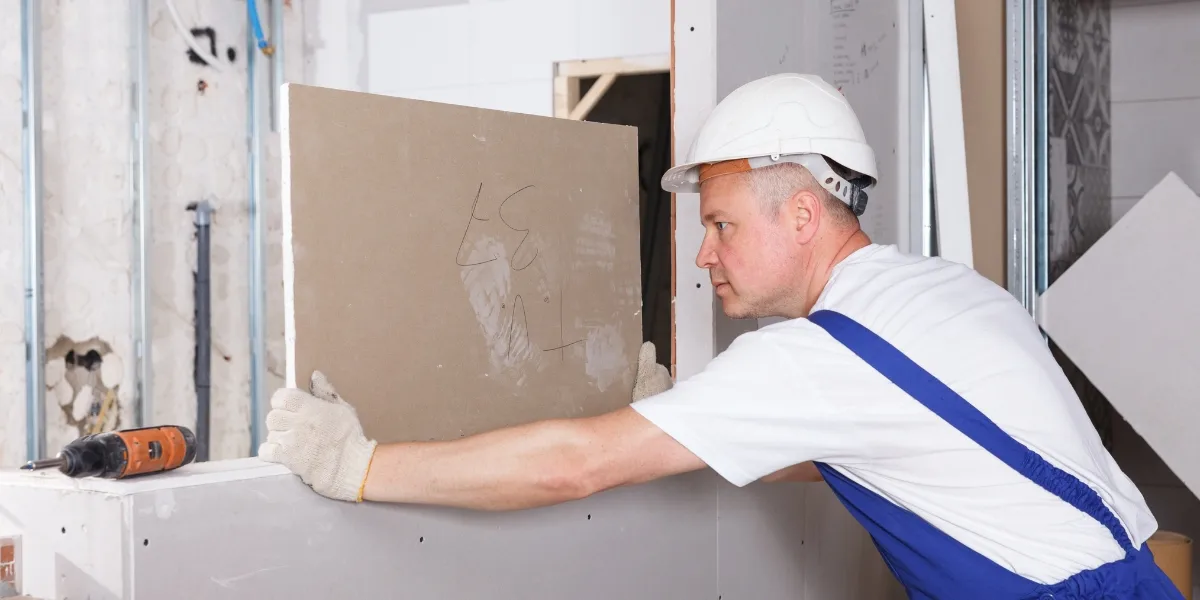
Gathering Essential Tools and Materials:
To complete this DIY drywall repair endeavor, assembling an array of indispensable tools and materials is paramount. It’s essential to ensure the availability of the following items in your arsenal:
- Putty knife
- Joint compound
- Assorted grits of sandpaper
- Drywall tape
- Primer and paint
- Sponge
- Dust mask and safety goggles
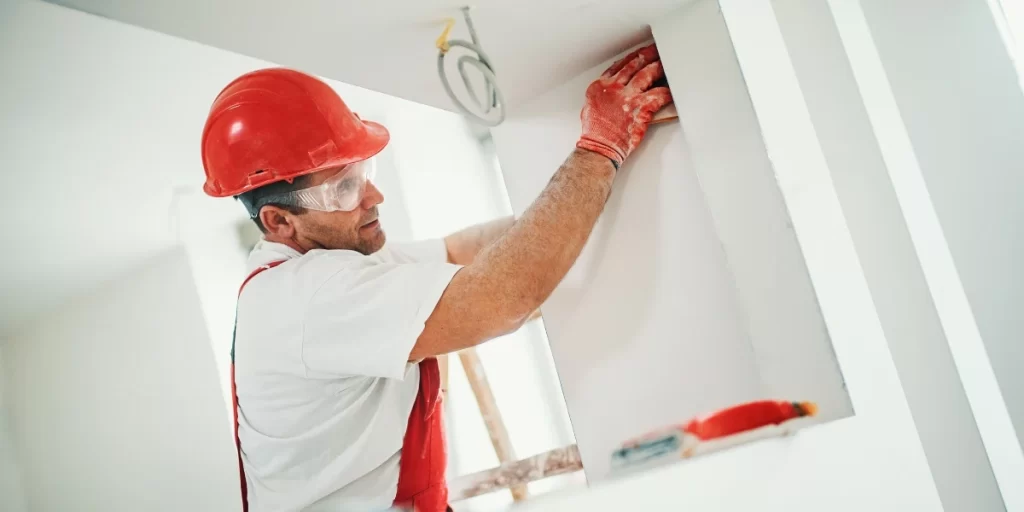
Prepare the Crack
Carefully prepping the crack is necessary before starting the restoration process. Use the putty knife to carefully expand the damage to ensure better adhesion and crack filling. Don’t forget to wear your safety goggles and dust mask, which protect you from airborne particles during this period.
Application of the Joint Compound:
It’s now time to apply the joint compound after the crack has been prepared for repair. A thin, even compound coating was skillfully spread over the crack’s surface using the putty knife and skillfully feathered outward onto the adjacent wall. This method seamlessly merges the repaired area and the current wall surface. After applying, be patient and wait for the joint compound to dry, following the manufacturer’s recommended guidelines.
Sanding and Iterative Refinement:
Once the joint compound attains a state of complete dryness, it’s time to embark on the sanding process. Employ sandpaper of fine grit to meticulously sand the patched area, endeavoring to achieve an impeccably smooth surface and perfectly flush with the wall. Should the situation demand, contemplate the application of a second layer of joint compound, repeating the steps mentioned above. The sanding process is, once more, indispensable after drying the second coat.
Introducing Drywall Tape for Enhanced Reinforcement:
It is strongly advised to use drywall tape to speed up the restoration procedure in cases where the cracks are more significant. The method comprises carefully positioning the tape over the break and then evenly applying a coating of joint compound on top. Push the tape firmly into the compound with the putty knife to ensure a solid and impenetrable bond. Before continuing, patience must be practiced as the composite dries.
Final Flourish: Sanding and Immaculate Finishing:
The final sanding phase can begin when the joint compound is completely dry. Use a higher grit of sandpaper to complete the final sanding carefully. This step is essential for giving the restored surface a seamless finish and preparing it well for painting. To ensure the success of this undertaking, we must remove any residual dust with a damp sponge, allowing the area to bask in a moment of drying before transitioning to the subsequent step.
Priming and Painting for Culmination:
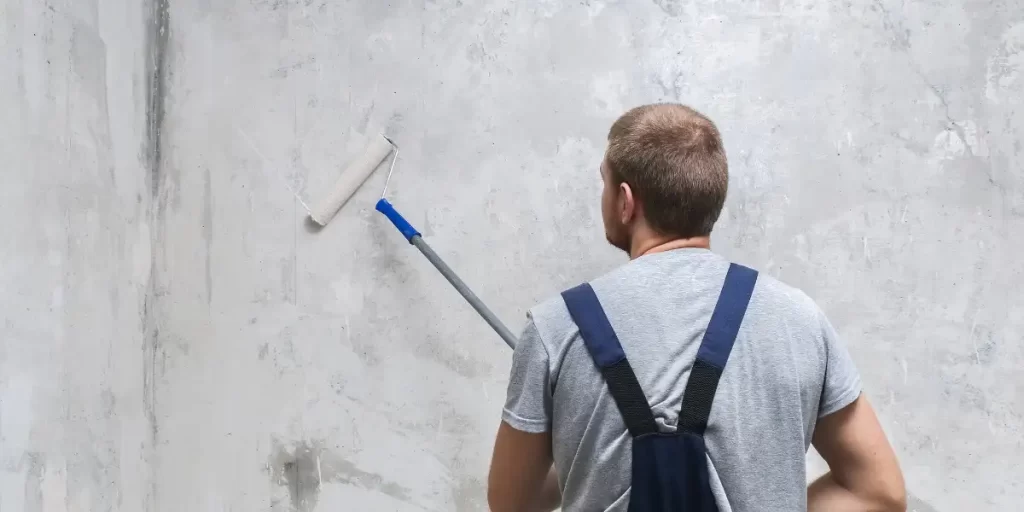
Applying a first primer layer to the repaired area is essential before the painting step begins. This vital step ensures that the upcoming paint adheres uniformly, resulting in a finish with a pleasing look. When the primer is completely dry, use your artistic skills to paint the patched area and blend it with the surrounding wall. Your ability to combine the fresh and old paint in this project effortlessly will determine how well it comes together visually.
Basking in the Fruits of Your Labor:
Congratulations are certainly in order! Through your diligence and craftsmanship, you’ve not only repaired the imperfections that marred your drywall but have also enriched yourself with valuable DIY skills. Step back, and bask in the pride accompanying a well-executed task. You have conserved your resources by undertaking this endeavor on your own and gained a skill set that will undoubtedly serve you well in the future.
Encourage Engagement:
It might be challenging to deal with drywall cracks that won’t disappear, but when you use your DIY abilities, you can solve the problem. Have you ever dealt with those annoying cracks that continue to emerge despite your best efforts to repair them? Post your stories and observations in the comments section below! As devoted DIY enthusiasts, we’re all in this together, and your advice might be the answer someone else is looking for. Regarding do-it-yourself tasks, learning to fix drywall isn’t the only worthwhile skill. There’s always something new to know, whether you’ve done DIY projects before or are just getting started. What additional home renovation initiatives catch your eye? Are you interested in attempting plumbing repairs, woodworking feats, or even electrical work? Let’s exchange ideas and experiences – drop your thoughts in the comments, and let’s keep the DIY conversation going!
Conclusion How to Repair Drywall Cracks:
We’ve provided you with a thorough tutorial in this complete tutorial to help you repair those annoying drywall cracks. Improving those broken drywalls is entirely within your reach, whether you prefer using professional techniques or doing it yourself. By carefully following this step-by-step tutorial, you’ll be well on your way to a flawless finish that will return your walls to their original spotless splendor. Remember that with the proper equipment, high-quality supplies, and a little bit of unshakable patience, you can confidently set out on the road to drywall repair and improve the aesthetic appeal of your prized living areas.
frequently asked questions about drywall repair:
Q1: What causes drywall cracks to appear?
Drywall cracks may develop for several reasons, including regular building settlement, temperature and humidity changes, foundation problems, shoddy installation, structural movement, and even mild earthquakes.
Q2: How do I determine if a drywall crack is serious?
Minor hairline cracks are less dangerous and frequently result from regular settling. However, if an attempt is more comprehensive than 1/8 inch or exhibits noticeable movement, it can be a symptom of a more severe problem. A professional inspection may be necessary if a crack continues after being repaired or coexists with structural issues (such as windows or doors that don’t close properly).
Q3: Can I repair small drywall cracks myself?
Yes, you can repair small drywall cracks yourself. Hairline cracks can be filled with spackling compounds, sanded, and repainted. However, ensuring the gap is not a symptom of a larger underlying problem is essential. See professional advice if you’re unsure or if the damage is more extensive.
Q4: When should I call a professional for drywall crack repair?
You should call a professional for drywall crack repair if the cracks are more comprehensive than 1/8 inch if they keep reappearing after DIY repairs, or if they are accompanied by signs of structural issues like doors not closing correctly, uneven floors, or visible foundation problems.
Q5: How can I prevent future drywall cracks?
To prevent future drywall cracks, ensure your home’s foundation is well-maintained, and address any drainage issues around the property. Maintain a stable indoor environment by controlling temperature and humidity levels. Properly install and maintain windows, doors, and other building elements to minimize structural movement. Additionally, use flexible caulking in areas where cracks are prone to form, such as corners and joints.